Custom navigation transition
Requirement
By default, iOS provides us with a nice navigation transition. But custom transitions, if done properly, can achieve even more. They could make the transition more smooth, as if you never left previous view and it just transformed.
Custom navigation transition could be universal for all your app transitions, or unique for a certain steps.
And that will be the topic of this post - we have a requirement, to make one transition in our app in a custom way.

Custom navigation transitions types
There are 2 ways to implement custom navigation transitions:
1.) Using screenshots of UIViewControllers/UIViews/subviews;
2.) Using actual UIViews;
1.) Using screenshots
▸ One of the ways is to use screenshots of the previous view and next view. Then you can simply make any transformations you want, by positioning them and transforming with animations. For most transitions this could be more than enough.


▸ You could cut up a screenshot (like cut out a part where a UITableViewCell is located, or an icon), and then translate it to a different position, while changing background.
▸ You could cut up a view in many parts, and make it foldable.
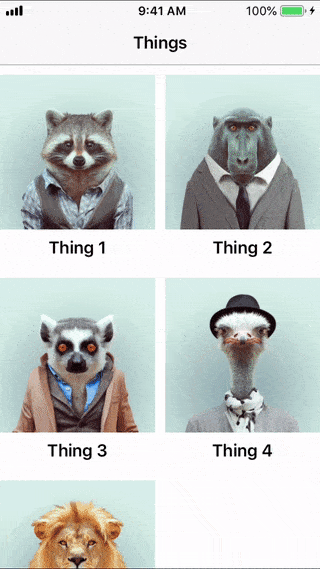
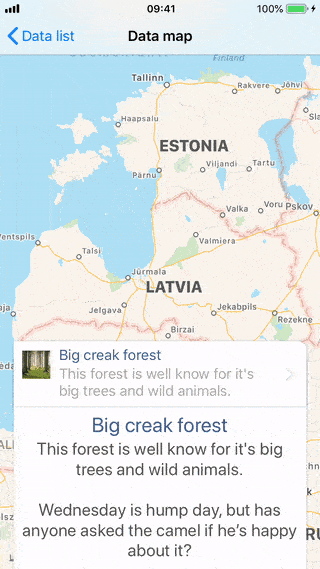
▸ Or you could take the screenshots of separate subviews (textfields, imageview, etc) in next viewController, and transform/translate them:

As you can see, if the transformation is done without changing imageView aspect ratio, then it looks good enough! But if the aspect ratio is changed (for example scale up from square icon size to phone rectangle size), then it’s not so beautiful anymore.
2.) Using actual views
Another possibility is to use actual views from next/previous viewControllers and animate their transition/transformation. Again - there are many possibilities how to deal with this, which mostly depends on how you want your custom transition to be like (what exactly to animate). But this then gives us a way to deal with aspect ratios, and make the transitions/animations more robust.
Solution
In this article, we will focus on using actual UIViews - when selecting a tableView cell, transform it into a different view, while changing background to a new view.

To do it, let’s split the custom animation in steps, to know exactly what is happening:
1.) User taps on a tableView cell.
2.) Selected cell remains in that position, while the tableView in background fades out, and next viewController (map), starts to fade in.
3.) Shortly after the tableView starts to fade out, selected cell starts to move to bottom, and at the same time - transform into a different layout (bigger title, bigger icon, icon centered at the top of the new view)
4.) Transition ends with the cell fully transformed into different layout.
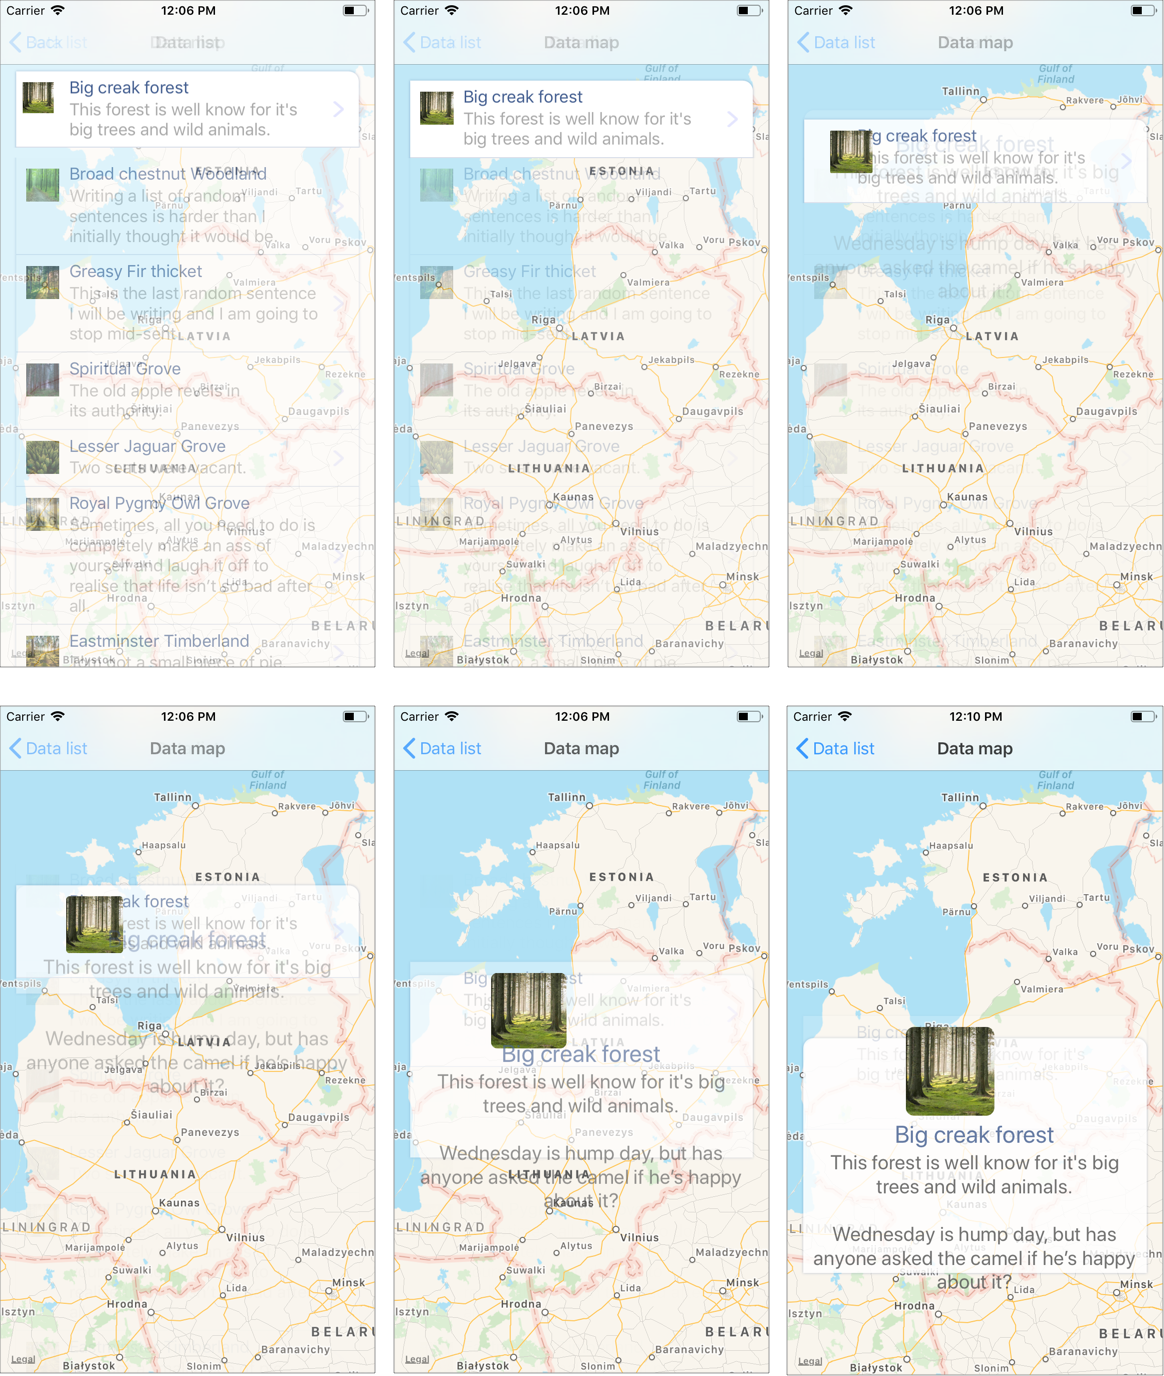
To implement these steps, I created a reusable view, which will be used as a contentView for UITableViewCell and could be added as a subview in map viewController.

Then I just need to position it at the selected cell position and fill it with the cell data.

For the final step (transforming the reusable view into a different layout) I created a new view - expandedView, that adds our reusable view as a subview. Then just enable/disable necessary layout constraints and constants - to switch between collapsed and expanded type.
At this point - our expanded “cell” is expanding/collapsing, but the initial “cell” should also be adjusted - all elements of the “cell” (except imageView) should be faded out, and only image view should be just transformed which will give use the feeling of “layout transformation”.
Annd… Done!
Code
From the code perspective, it is pretty simple. For a custom navigation transition, you need a transition coordinator and transition animators (push/pop).
I ended up splitting transition animators into two separate classes - so that each class would contain only the necessary code for that specific transition type (push or pop), but the negative side is - I will have some duplicate code in my project.
1.) TransitionCoordinator
TransitionCoordinator will add actual transition animators, when the transition will start to happen (either push or pop), it can also add swipe recogniser and implement UIPercentDrivenInteractiveTransition(), which enables user to drag-to-dismiss in an interactive way. (Our custom navigation transition animation is percent driven).
class TransitionCoordinator: NSObject, UINavigationControllerDelegate {
    var interactionController: UIPercentDrivenInteractiveTransition?
    var sideSwipeRecognizerAdded: Bool = false
    weak var navController: UINavigationController?

    func navigationController(_ navigationController: UINavigationController,
        animationControllerFor operation: UINavigationController.Operation, from
        fromVC: UIViewController, to toVC: UIViewController) ->
        UIViewControllerAnimatedTransitioning? {

        if !sideSwipeRecognizerAdded {
            navController = navigationController
            self.addSideSwipeRecognizerToNavigationController()
            sideSwipeRecognizerAdded = true
        }

        switch operation {
            case .push:
                return PushTransitionAnimator()
            case .pop:
                return PopTransitionAnimator()
            default:
                return nil
        }
    }

    func navigationController(_ navigationController: UINavigationController,
        interactionControllerFor animationController:
        UIViewControllerAnimatedTransitioning) ->
        UIViewControllerInteractiveTransitioning? {
        return interactionController
    }

    // MARK: Functions

    func addSideSwipeRecognizerToNavigationController() {
        let edgeSwipeGestureRecognizer = UIScreenEdgePanGestureRecognizer(target:
            self, action: #selector(handleSwipe(_:)))
        edgeSwipeGestureRecognizer.edges = .left
        navController!.view.addGestureRecognizer(edgeSwipeGestureRecognizer)
    }

    @objc func handleSwipe(_ gestureRecognizer: UIScreenEdgePanGestureRecognizer) {

        let percent = gestureRecognizer.translation(in: gestureRecognizer.view!).x
        / gestureRecognizer.view!.bounds.size.width

        if gestureRecognizer.state == .began {
            interactionController = UIPercentDrivenInteractiveTransition()
            navController!.popViewController(animated: true)
        } else if gestureRecognizer.state == .changed {
            interactionController?.update(percent)
        } else if gestureRecognizer.state == .ended {
            if percent > 0.5 && gestureRecognizer.state != .cancelled {
                interactionController?.finish()
            } else {
                interactionController?.cancel()
            }
            interactionController = nil
        }
    }
}
2.) PushTransitionAnimator
To deal with animations, I decided to keep them out of animators, and instead call protocol methods on ViewControllers that implement them. That way, animators don’t have to worry about what to animate, and make them a bit more universal.
So- when animator is ready to transition, it will call reveal(withDuration:completionHandler:) and complete the transition, when handler is returned.
Only thing that is animated within animator - is the previous viewController view. I wanted it to be faded out faster.
protocol PushTransitionAnimatorHelperProtocol: class {
    // Use this to animate necessary stuff.
    // Return completionHandler when done.
        func reveal(withDuration duration: TimeInterval,
            completionHandler: @escaping ((TransitionResult<Bool>) -> Void))
}

class PushTransitionAnimator: NSObject, UIViewControllerAnimatedTransitioning {

    weak var context: UIViewControllerContextTransitioning?

    func transitionDuration(using transitionContext:
    	UIViewControllerContextTransitioning?) -> TimeInterval {
        return 0.6
    }

    func animateTransition(using transitionContext:
    	UIViewControllerContextTransitioning) {
    	context = transitionContext

        guard let fromView = transitionContext.view(forKey: .from),
            let toView = transitionContext.view(forKey: .to),
            let toViewController = transitionContext.viewController(forKey: .to) as? PushTransitionAnimatorHelperProtocol
        else { return }

        // Get the duration, that was declared in transitionDuration()
        let duration = transitionDuration(using: transitionContext)

        let container = transitionContext.containerView
        container.addSubview(toView)
        fromView.alpha = 1

        // This is just a tiny extra animation,
        // to hide view that will appear - to hide it faster.
        UIView.animate(withDuration: duration/2, delay: 0,
            usingSpringWithDamping: 0.7, initialSpringVelocity: 0.2,
            options: [.curveEaseInOut], animations: {
            fromView.alpha = 0
        })

        toViewController.reveal(withDuration: duration) { status in
            transitionContext.completeTransition(!transitionContext.transitionWasCancelled)
        }
    }
}
3.) PopTransitionAnimator
Similarly as with PushTransitionAnimator, there are protocols, that need to be implemented in necessary ViewControllers.
PopTransitionAnimatorHelperProtocol hide(withDuration:completionHandler:) is meant for pop animation,to animate any views, to return to original positions etc, and reset() will be called, if user drags-to-pop viewController, but cancels it.
ButPopTransitionAnimatorFinaliseHelperProtocol is meant to be implemented by previousViewController - the one we initially started this custom transition from.
In my case, I use this method to unhide UITableViewCell which was tapped.
protocol PopTransitionAnimatorHelperProtocol: class {
    // Use this to animate necessary stuff. Return completionHandler when done.
    func hide(withDuration duration: TimeInterval,
        completionHandler: @escaping ((TransitionResult<Bool>) -> Void))

    // Used when user manually swipes back, but cancels it.
    func reset()
}

protocol PopTransitionAnimatorFinaliseHelperProtocol: class {
    // Called on toViewController - to finalise any tasks (like, unhide item)
    func customTransitionWasFinished()
}

class PopTransitionAnimator: NSObject, UIViewControllerAnimatedTransitioning {

    weak var context: UIViewControllerContextTransitioning?
    weak var fromViewController: PopTransitionAnimatorHelperProtocol?

    func transitionDuration(using transitionContext:
        UIViewControllerContextTransitioning?) -> TimeInterval {
        return 0.6
    }

    func animationEnded(_ transitionCompleted: Bool) {
        if !transitionCompleted {
            self.fromViewController?.reset()
        }
    }

    func animateTransition(using transitionContext:
        UIViewControllerContextTransitioning) {
        context = transitionContext

        guard let fromView = transitionContext.view(forKey: .from),
            let toView = transitionContext.view(forKey: .to),
            let toViewController = transitionContext.viewController(forKey: .to) as? PopTransitionAnimatorFinaliseHelperProtocol,
            let fromViewController = transitionContext.viewController(forKey: .from) as? PopTransitionAnimatorHelperProtocol
        else { return }

        self.fromViewController = fromViewController

        let duration = transitionDuration(using: transitionContext)

        let container = transitionContext.containerView
        container.insertSubview(toView, belowSubview: fromView)
        toView.alpha = 0

        // This is just a tiny extra animation,
        // to un-hide view that will appear - faster
        UIView.animate(withDuration: duration/2, delay: 0,
            usingSpringWithDamping: 0.7, initialSpringVelocity: 0.2,
            options: [.curveEaseInOut], animations: {
            toView.alpha = 1
        })

        fromViewController.hide(withDuration: duration) { status in
            if !transitionContext.transitionWasCancelled {
                toViewController.customTransitionWasFinished()
                container.addSubview(toView)
            }
            transitionContext.completeTransition(!transitionContext.transitionWasCancelled)
        }
    }
}